


I’ve been asked this question a million times: “Do I need to hire a developer in order to get a chatbot for my website?”
No, you don’t.
I’ve seen solo founders launch and build bots that will schedule calls, answer customer questions, and qualify leads over the course of the weekend without any code, without a developer, without a six-figure bill. The software has become this good. 2026 is the year they finally delivered what people really needed, a solution that allows you to build, test, and deploy before you even pour yourself a cup of coffee.
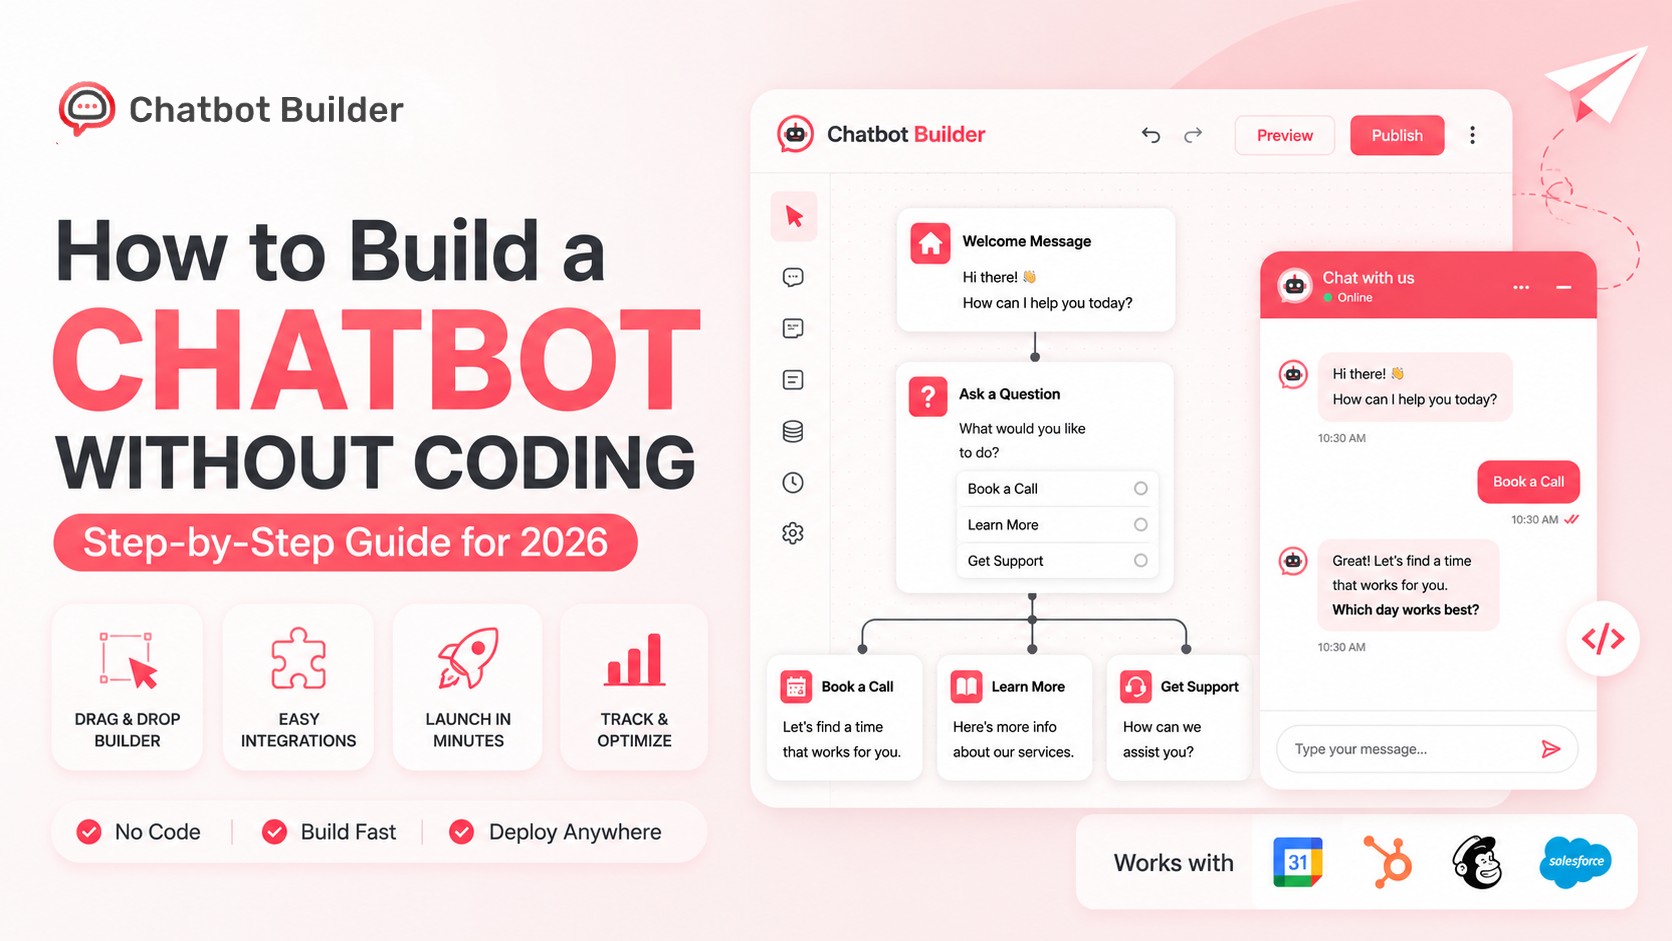
This guide takes you through the exact process from beginning to end. Select a bot type, select a bot builder, design a flow, write human-like copy, add some logic, integrate with your calendar or CRM software, test it, launch it, and analyze the results. In the example below, I will use ChatbotBuilder.net, which allows you to do everything mentioned above using one single solution.
Let’s build.
Step 1: Choose the Right Chatbot Type for Your Goal
This is an important step that most people miss out on and go right ahead to software selection. Big mistake. The bot required by you totally depends on the task at hand.
Here are the four main types:
1. Lead capture bots: These greet a visitor, ask two or three qualifying questions, and grab an email or phone number. Simple, fast, high conversion. Good for agencies, coaches, local service businesses.
2. Support bots: These answer repeat questions: shipping times, refund policy, how to reset a password. They save your team hours a week and keep customers from bouncing when nobody’s online.
3. Booking bots: These walk a visitor through choosing a service they are looking for, picking a suitable time, and confirming an appointment. Perfect for consultants, clinics, salons, anyone who lives and dies by their calendar.
4. Sales and product bots: These recommend products, answer objections, and push someone toward checkout. Ecommerce brands lean on these hardest.
Pick one. Just one, for now. Trying to build a bot that does all four at launch is how projects stall out. Nail one job, get it converting, then expand.
A quick gut check before you move on: what’s the single most common question or request your visitors have right now? That’s your bot’s first job.
Here’s how I’d think about matching business type to bot type:
– Local service business (plumber, dentist, salon)? Go booking bot. Your visitors want a slot on your calendar, not a chat about your history.
– SaaS product with a support inbox that never empties? Go support bot. Pull your top ten repeat tickets and build the bot around answering those first.
– Coach, consultant, or agency? Go lead capture bot. Two or three qualifying questions, then hand off to a call or email sequence.
– Online store? Go sales bot. Point it at your top three products or your most common pre-purchase question, like sizing or shipping.
Notice none of these need a bot that “does everything.” That’s on purpose. A narrow bot that nails one job builds trust fast. A broad bot that half-answers five jobs builds frustration fast.
Write your answer down: “My bot’s one job is ___.” Tape it above your desk if you have to. Every decision from here on out gets measured against that sentence.
Step 2: Pick a No-Code Builder
Once you know the job, pick the tool. Here’s what matters when comparing options:
– Drag-and-drop flow builder. You should see your conversation as a visual map, not a spreadsheet of if-then rules.
– Native integrations. Your calendar, your CRM, your email platform. If the builder can’t talk to the tools you already run, you’ll spend your weekend copying leads by hand.
– Templates for your bot type. Starting from a blank canvas is rough. Starting from a booking template that’s already 70% built is not.
– Testing sandbox. You want to run your bot in a preview window before it ever touches a real visitor.
– Analytics dashboard. More on this later, but if the tool can’t show you drop-off points, you’re flying blind after launch.
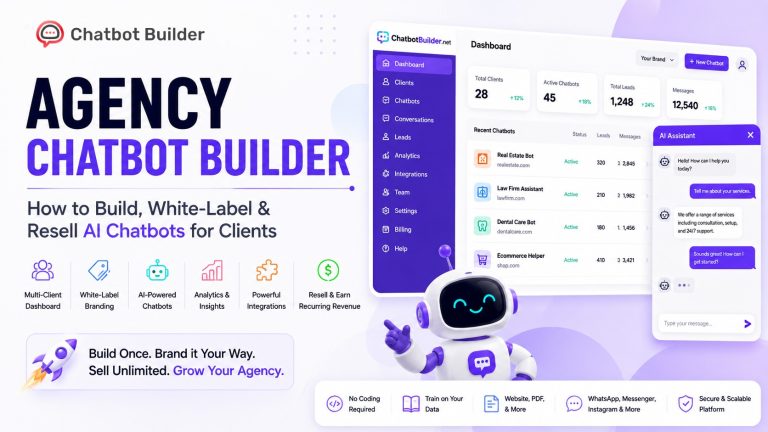
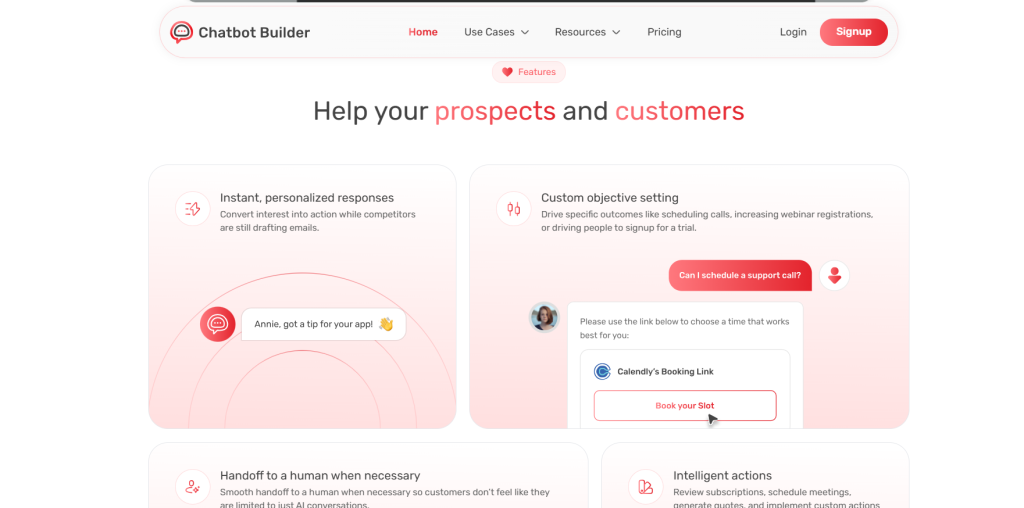
Chatbotbuilder.net ticks all the boxes listed above. It’s a popular approach that works just as nicely as quite a few other no-code tools, so if you’re using either, you should still keep the same steps for your platform.
To get started, sign up and open the flow editor. It looks like a blank canvas, but it already comes with a conversation framework you can build on.
A few extra things worth checking before you commit to a builder for good:
Pricing tiers: Most tools, ChatbotBuilder included, price based on chat volume, not features. Look at where the free or starter tier caps out and think about your real monthly traffic, not your dream traffic.
Deployment options: Can you drop the bot on your website with a snippet of code you paste once, no editing required? Can it live on Facebook Messenger, Instagram, or SMS too, if you need that down the road?
Team access: If you’ve got a partner, assistant, or agency helping you, check whether the builder supports multiple logins with different permission levels.
Support quality: Search the name of the tool followed by “support” or “down” before joining the platform. Five minutes can save you from choosing an inactive platform when you really need assistance.
All of this shouldn’t take you more than twenty minutes. Choose your tool, make a commitment, and go on to the next step. There’s such a thing as procrastination through builder-shopping.
Step 3: Outline The Conversation Flow Before Starting Building
Now is not the time to go into the builder.
The main issue why most first-time bots feel clunky is because people start dragging around blocks without knowing what the conversation will even say. Write out a plan for that conversation on paper (or in your docs).
Here’s a simple method: write the conversation as a script, like a phone call transcript.
Bot: Hey! Looking to book a consult or check something else first?
User: Book a consult
Bot: Great, what type of session, strategy call or audit?
User: Strategy call
Bot: What day works best this week?
User: Thursday
Bot: I’ve got 10am or 2pm open Thursday. Which one?
User: 2pm
Bot: Locked in. What’s your email so I can send the confirmation?
Observe the pattern: one question per message, clear language, and a clear follow-up action for each message. Draft three to four complete pathways, addressing the most common paths visitors might take, before you use the flow editor.
Once your script feels natural to read out loud, that’s your green light to start building it in ChatbotBuilder’s flow canvas. Translating a finished script into blocks takes twenty minutes. Building blindly and rewriting five times takes a weekend.
A trick I picked up from watching a hundred bots fail the same way: draw the flow as a real diagram before you build it, even a rough one on a whiteboard or napkin. Boxes for bot messages, arrows for the paths a visitor can take. This forces you to spot dead ends before they’re live. If a box has no arrow leading out of it, that’s a conversation that traps a real person. Fix it now, on paper, where it costs nothing to erase and redraw.
Ask yourself three questions about your draft flow before moving on:
– Does every path end in a clear outcome, a booked slot, a captured email, an answered question?
– Is there a path out at every stage, in case the visitor wants a human instead?
– Could a stranger follow this flow without me standing over their shoulder explaining it?
If you can answer yes to all three, you’re ready to build.
Step 4: Write Bot Copy That Doesn’t Sound Robotic
This is where most bots lose people. Not the tech, the tone.
A few rules I stick to:
Keep messages short. One idea per bubble. If a message needs a scroll, split it into two.
Talk like a person texting a friend, not a form. Compare:
– Robotic: “Please select an option from the following menu to proceed.”
– Human: “What can I help with today?”
Use contractions. “I’ll,” “you’re,” “let’s,” “can’t.” Bots that avoid contractions read like a legal disclaimer.
Give the visitor an easy out. Every flow needs a “talk to a human” or “not right now” option. Trapping someone in a menu tree is the fastest way to get a bounce.
Match your brand voice. If your brand is playful, let the bot crack a small joke. If it’s a medical practice, keep things warm but professional. ChatbotBuilder’s copy editor lets you preview each bubble as a chat message, so read it back the way a visitor would see it, not as a wall of text in an admin panel.
One trick that works well: read your script out loud. If you’d never actually say a line to a customer standing in front of you, rewrite it.
A few more copy habits worth building in:
Show a name and a face. Bots with a name, “Alex from support,” and a small avatar feel less like a wall of text and more like a real conversation starting. This one small touch bumps engagement more than people expect.
Set expectations up front. A quick line like “This’ll take about a minute, and I’ll grab your info for the booking” tells the visitor exactly what they’re signing up for. No surprises, no bounce.
Avoid stacking questions. “What’s your name, email, and phone number?” in one bubble feels like a form again. Split it into three quick exchanges instead. It reads slower on paper but feels faster in the chat window, since the visitor never faces a wall of fields at once.
Use confirmation messages. Following each important milestone, a short acknowledgment like “Got it, Thursday at 2 pm” will make the visitor know that the bot really understands the conversation and isn’t merely repeating some script.
Let the company signal-mute. Something like “Thank you for your interest in our services” sounds like it came straight out of the template here, whereas “Flotic, communicate quickly! Sounds much more personal. A simple change makes all the difference.”
Step 5: Add Branch Logic and Conditions
Analytical logic is what makes the difference between a trivial script and a real conversational bot. Regardless of the visitor’s initial response or action, the conversation moves in that direction.
In ChatbotBuilder, branching logic is implemented through conditions within the flow editor. For example:
– Button choices: The simplest branch. Visitor taps “Support” or “Sales,” and each button routes to a different flow.
– Keyword detection: If someone types “refund,” route them straight to your refund flow instead of forcing them through five menu clicks.
– Conditional logic: “If a visitor selected Strategy Call AND day equals Thursday, show 10 am/2 pm slots. If the day equals Friday, show 1 pm/3 pm slots.” This is how a booking bot feels smart instead of scripted.
– Fallback paths. What happens when the bot doesn’t understand? Never leave this blank. Set a fallback that says something like, “Hmm, not sure I caught that, want me to connect you with a real person?”
Start simple. Two or three branches at launch is plenty. You can always add more once you see real conversations coming through and notice where people actually diverge.
Here’s a real example from a booking bot: say a visitor picks “Strategy Call” and then types “next Tuesday” instead of tapping a preset day button. A basic bot chokes here. A well-built one catches the free-text answer, matches it against your calendar, and offers the closest open slots. That’s the difference between a bot that feels smart and one that feels like a phone tree from 2005.
Two more logic patterns worth setting up early:
Return visitor detection: If someone’s chatted with your bot before, ChatbotBuilder can recognize them and skip the intro questions, jumping straight to “Welcome back! Ready to pick up where we left off?”
Time-based branching: Route differently based on whether it’s business hours. During open hours, offer a live handoff. After hours, capture the lead and promise a reply by morning. This single branch alone can save a support inbox from a flood of after-hours frustration.
Build one branch, test it, then add the next. Layering logic one piece at a time keeps the flow easy to debug when something doesn’t route the way you expected.
Step 6: Connect Your Bot to a CRM or Calendar
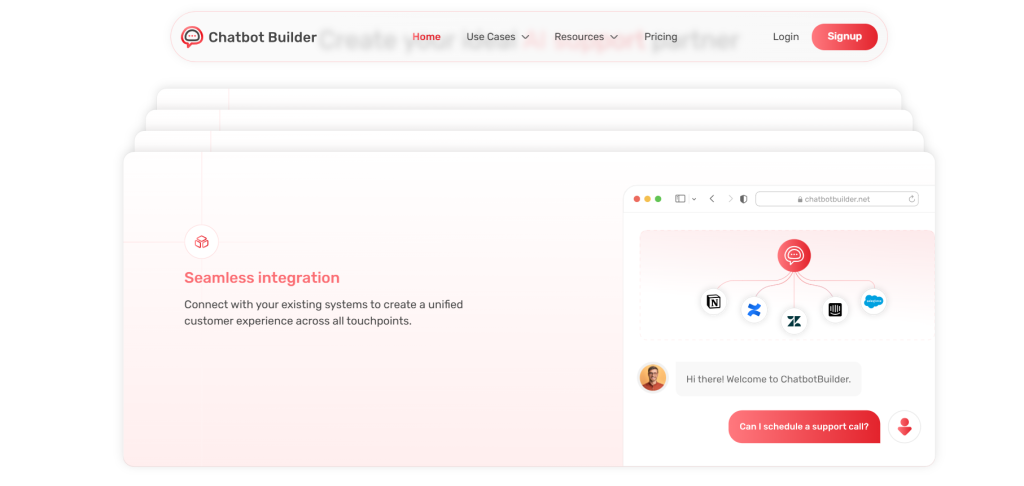
A bot that collects information and does nothing with it is just a fancy contact form. The magic happens when it pushes data somewhere useful, automatically.
In ChatbotBuilder.net, connecting integrations takes three steps:
– Go to the Integrations tab.
– Pick your tool (HubSpot, Salesforce, Google Calendar, Calendly, Mailchimp, and dozens more show up here).
– Authorize the connection and map your bot’s fields to the right fields in your CRM or calendar.
For a booking bot, this means when a visitor confirms a time slot, it lands directly on your calendar, invite sent, no manual entry. For a lead capture bot, every new contact drops straight into your CRM with tags showing which flow they came through, so your sales team knows exactly what that person was asking about before the first call.
One tip: tag every lead with the flow or bot version it came from. Six months from now, when you’re comparing which version of your bot converts best, you’ll be glad you set this up on day one instead of trying to reconstruct it later.
A couple of other connections worth setting up at the same time, since you’re already in the settings panel:
Email notifications: Get pinged the moment a hot lead comes through, so a real person can follow up fast, right when the visitor’s still warm.
Slack or team chat alerts: For businesses with a team on the front line, piping bot conversions straight into a Slack channel keeps everyone in the loop without checking a dashboard.
Zapier or a similar connector: If your CRM or calendar tool isn’t on ChatbotBuilder’s native list, a connector app fills the gap, linking the bot to nearly any tool with a few clicks.
Test each connection with a dummy submission before launch. A broken integration is worse than no integration at all, since you’ll assume leads are flowing in when they’re actually vanishing into thin air.
Step 7: Test Before You Go Live
Never skip this step. I’ve seen bots go live with a typo in the very first message, or a broken branch that dead-ends the moment someone picks the second option instead of the first.
Here’s a testing checklist to run through before launch:
– Walk every single branch yourself, not just the “happy path.”
– Test the fallback message by typing something nonsensical.
– Check the bot on mobile, not just desktop. Most traffic is mobile.
– Confirm the calendar or CRM connection by actually booking a test slot or submitting a test lead.
– Ask a coworker or friend who’s never seen the bot to try it cold, with zero guidance from you. Watch where they hesitate.
– Check load time. A bot that takes five seconds to greet someone loses them before it says a word.
ChatbotBuilder.net has a built-in preview mode that simulates the full chat window, so you can run this whole checklist without publishing anything live. Use it. Run through the checklist twice. Then run it once more after any change, no matter how small.
Beyond your own testing, run a small agile release before a full release. Share the bot link with 5 to 10 humans, customers, friends, teammates, and ask them to try to order, ask questions, or complete what the bot is doing. Watch the screen recording or ask if you can. You’ll spot friction points in real usage that you’d never catch clicking through it yourself, since you already know exactly what to click.
Set a launch date only after the soft launch group gets through the flow with zero confusion. A bot that’s 90% ready and rushed out the door tends to need three separate emergency fixes in its first week. A bot that’s fully tested tends to run quietly in the background for months.
Step 8: Measure Performance After Launch
Launching isn’t the finish line, it’s the starting gun. A bot you never touch again slowly gets worse as your offers, pricing, and audience shift underneath it.
Track these four numbers weekly for the first month:
1. Engagement rate. How many site visitors actually open the chat window versus how many land on the page? If this number is low, your bot’s opening message or placement needs work.
2. Completion rate. Of the people who start chatting, how many finish the flow (book, submit, or get their answer) versus drop off halfway? A big drop at a specific question tells you exactly where the copy or logic needs fixing.
3. Conversion rate. How many chats turn into an actual outcome, a booked call, a captured lead, a sale? This is the number that matters most to your bottom line.
4. Fallback rate. How often does the bot hit its “I didn’t understand that” message? A high number here means visitors are asking things your flow doesn’t account for yet, which is a goldmine for improving your script.
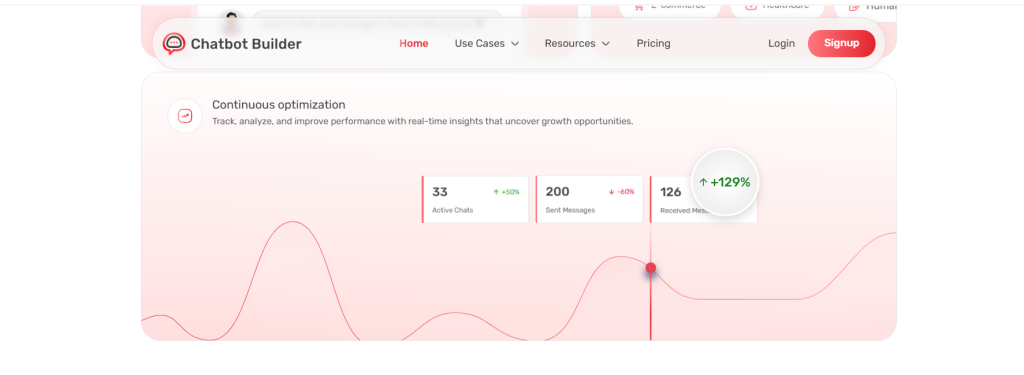
ChatbotBuilder’s analytics dashboard tracks all 4 regularly and shows you a visual funnel where humans fall within each flow. Look weekly for the first month, then monthly after that. Small tweaks, a rephrased question, a moved button, an additional section, tend to compound into real conversion gains of more than a quarter overall.
Beyond the four average metrics, there are several high-phase tests really worth participating in month-to-month:
Cost per conversion. If you’re running paid traffic to a page with your bot, divide ad spend by bookings or leads captured through the bot. Compare this against your old contact form or phone line to see the real lift.
Time saved. For support bots, count how many conversations the bot fully resolves without a human stepping in. Multiply by your average handle time, and you’ve got a real number to show whoever signs off on your tools budget.
Run small experiments too. Test variations of your startup message for many weeks, and test engagement rates. Try moving the question forward or backward during the walk. None of this requires complex, small-scale, planned research that, examined individually, predicts a massive redesign in each area.
Common Mistakes First-Time Bot Builders Make
I’ve reviewed a lot of first bots. The same handful of mistakes show up again and again.
Trying to build a “do everything” bot on day one. Support, sales, and booking all crammed into one flow. Visitors get lost, and so does the person maintaining it. Start with one job, prove it works, then add scope.
Skipping the script step. Jumping straight into the flow builder without writing the conversation out first leads to stiff, disjointed copy that reads like a decision tree instead of a chat.
No fallback path. When the bot hits a dead end and says nothing useful, visitors just close the tab. Always give them a way out, a real human option, a link, anything.
Asking for too much too soon. Nobody wants to fill out a five-field form disguised as a chat before they’ve even gotten a real answer. Ask for the minimum info you need to take the next step, and collect more later.
Forgetting mobile. A bot window that looks great on a 27-inch monitor can be unusable on a phone. Test on mobile before launch, every time.
Never checking the analytics. Set it and forget it does not work for chatbots. The bots that actually convert well are the ones someone reviews and tweaks every couple of weeks.
Sounding too formal, or too gimmicky. There’s a middle ground between a corporate FAQ page and a bot that opens with three emojis and a meme. Match your actual brand voice, tested out loud, not guessed at.
Not connecting to a CRM or calendar. Collecting info that just sits in a dashboard nobody checks defeats the purpose. Wire it into a tool your team already lives in.
Avoid these eight, and you’re already ahead of most first-time builders.
Wrapping Up
Building a chatbot without code isn’t a stretch goal anymore, it’s a weekend project. Pick your bot type. Choose ChatbotBuilder or a comparable no-code platform. Script the conversation before you touch a single block. Write copy that sounds like a person, not a form. Add branching logic once the core path feels solid. Wire it into your CRM or calendar so the data actually goes somewhere. Test every path, on every device, before it ever meets a real visitor. Then watch the numbers and keep tuning.
Start small. One flow, one job, done well beats five flows done halfway. You can always expand once the first one’s converting. Start your 14-day free trial with ChatbotBuilder.net.
Frequently Asked Questions
Do I need any coding knowledge to build a chatbot?
No. Tools like ChatbotBuilder use a visual drag-and-drop editor. If you can build a slide deck, you can build a bot.
How long does it take to build a chatbot without coding?
A single-purpose bot, lead capture or booking, typically takes two to four hours from script to launch, spread across an afternoon.
What’s the best free no-code chatbot builder for beginners?
ChatbotBuilder offers a free tier that covers a single bot with core integrations, a solid starting point before upgrading to paid plans for more flows and advanced logic.
Can a no-code chatbot connect to my CRM?
Yes. Most no-code builders, ChatbotBuilder included, offer native integrations with major CRMs like HubSpot and Salesforce, along with calendar tools like Google Calendar and Calendly.
How do I stop my chatbot from sounding robotic?
Write the conversation as a script first, read it out loud, use contractions, keep messages short, and always give visitors an option to reach a real person.